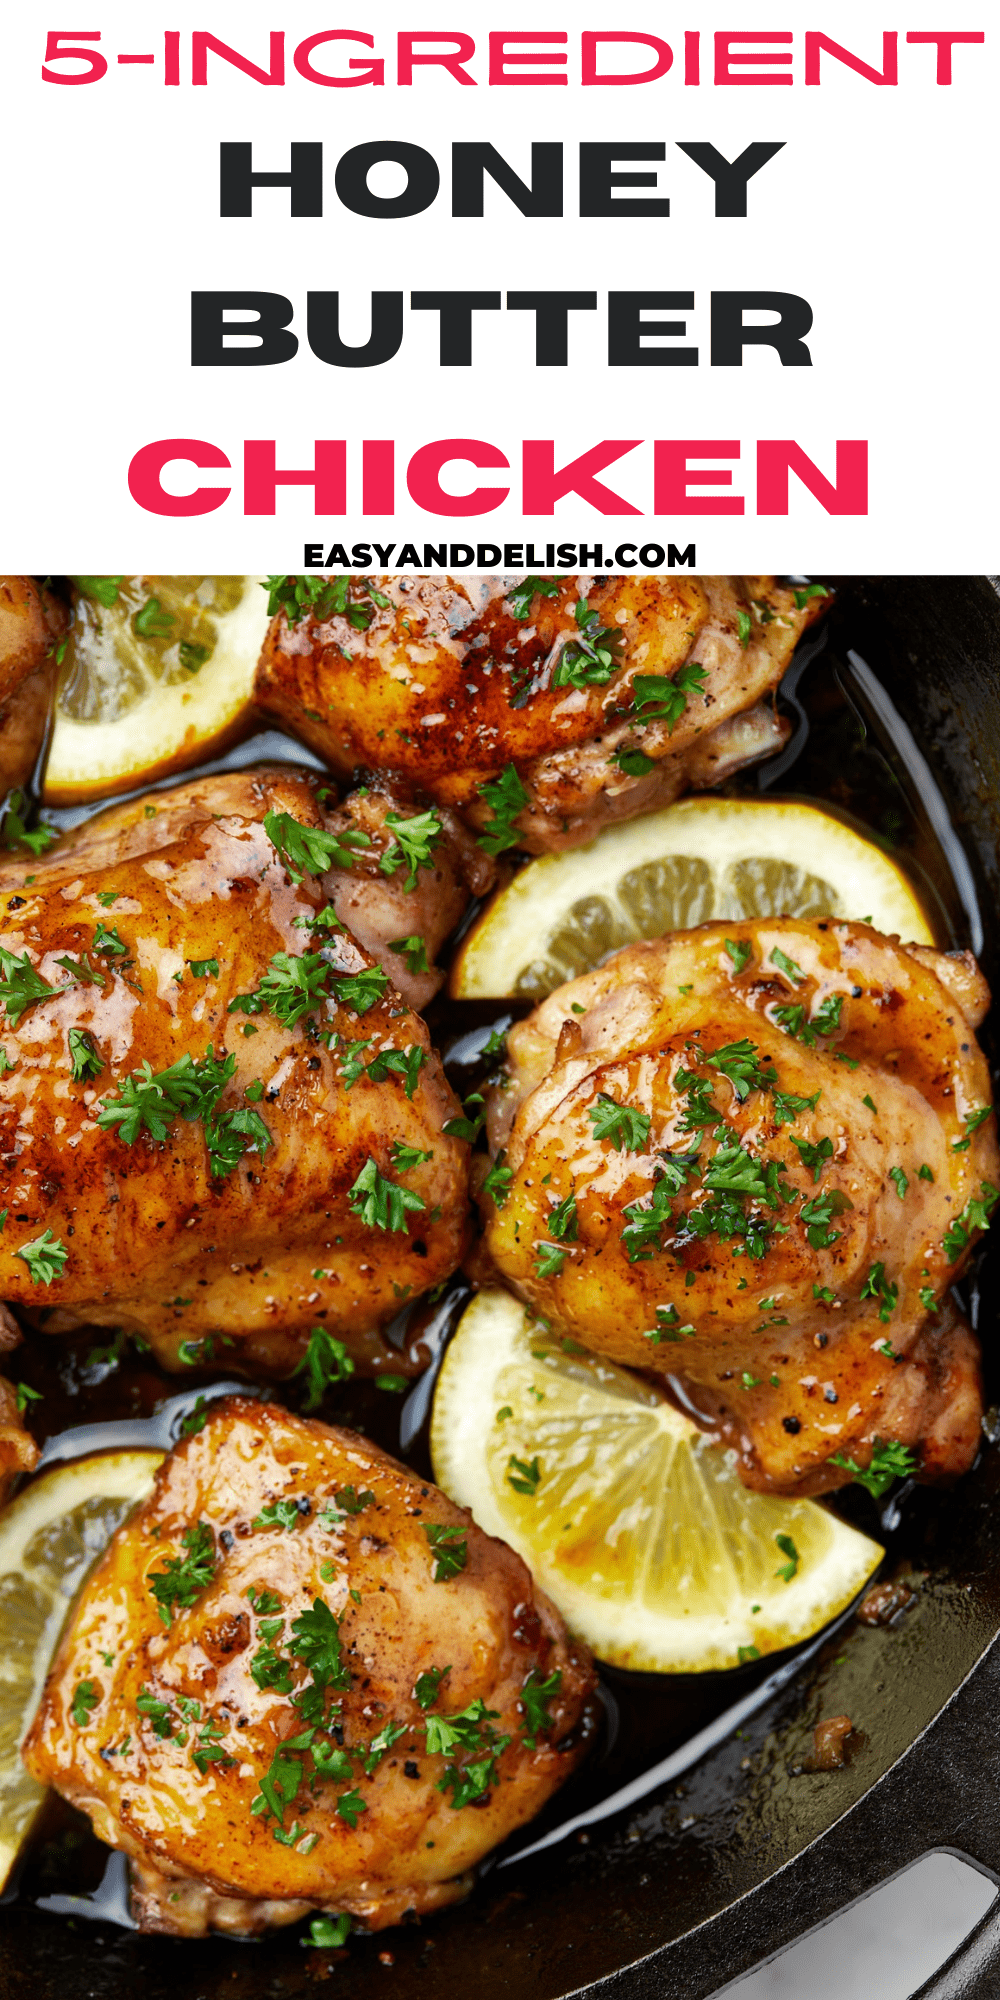
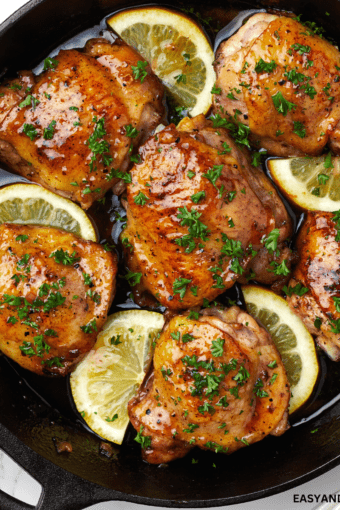
Honey Butter Chicken has chicken thighs seared and simmered in a sweet and savory sauce, then broiled until crispy, juicy, and delish! Serve this healthy meal as one of those easy dinners on busy weeknights.
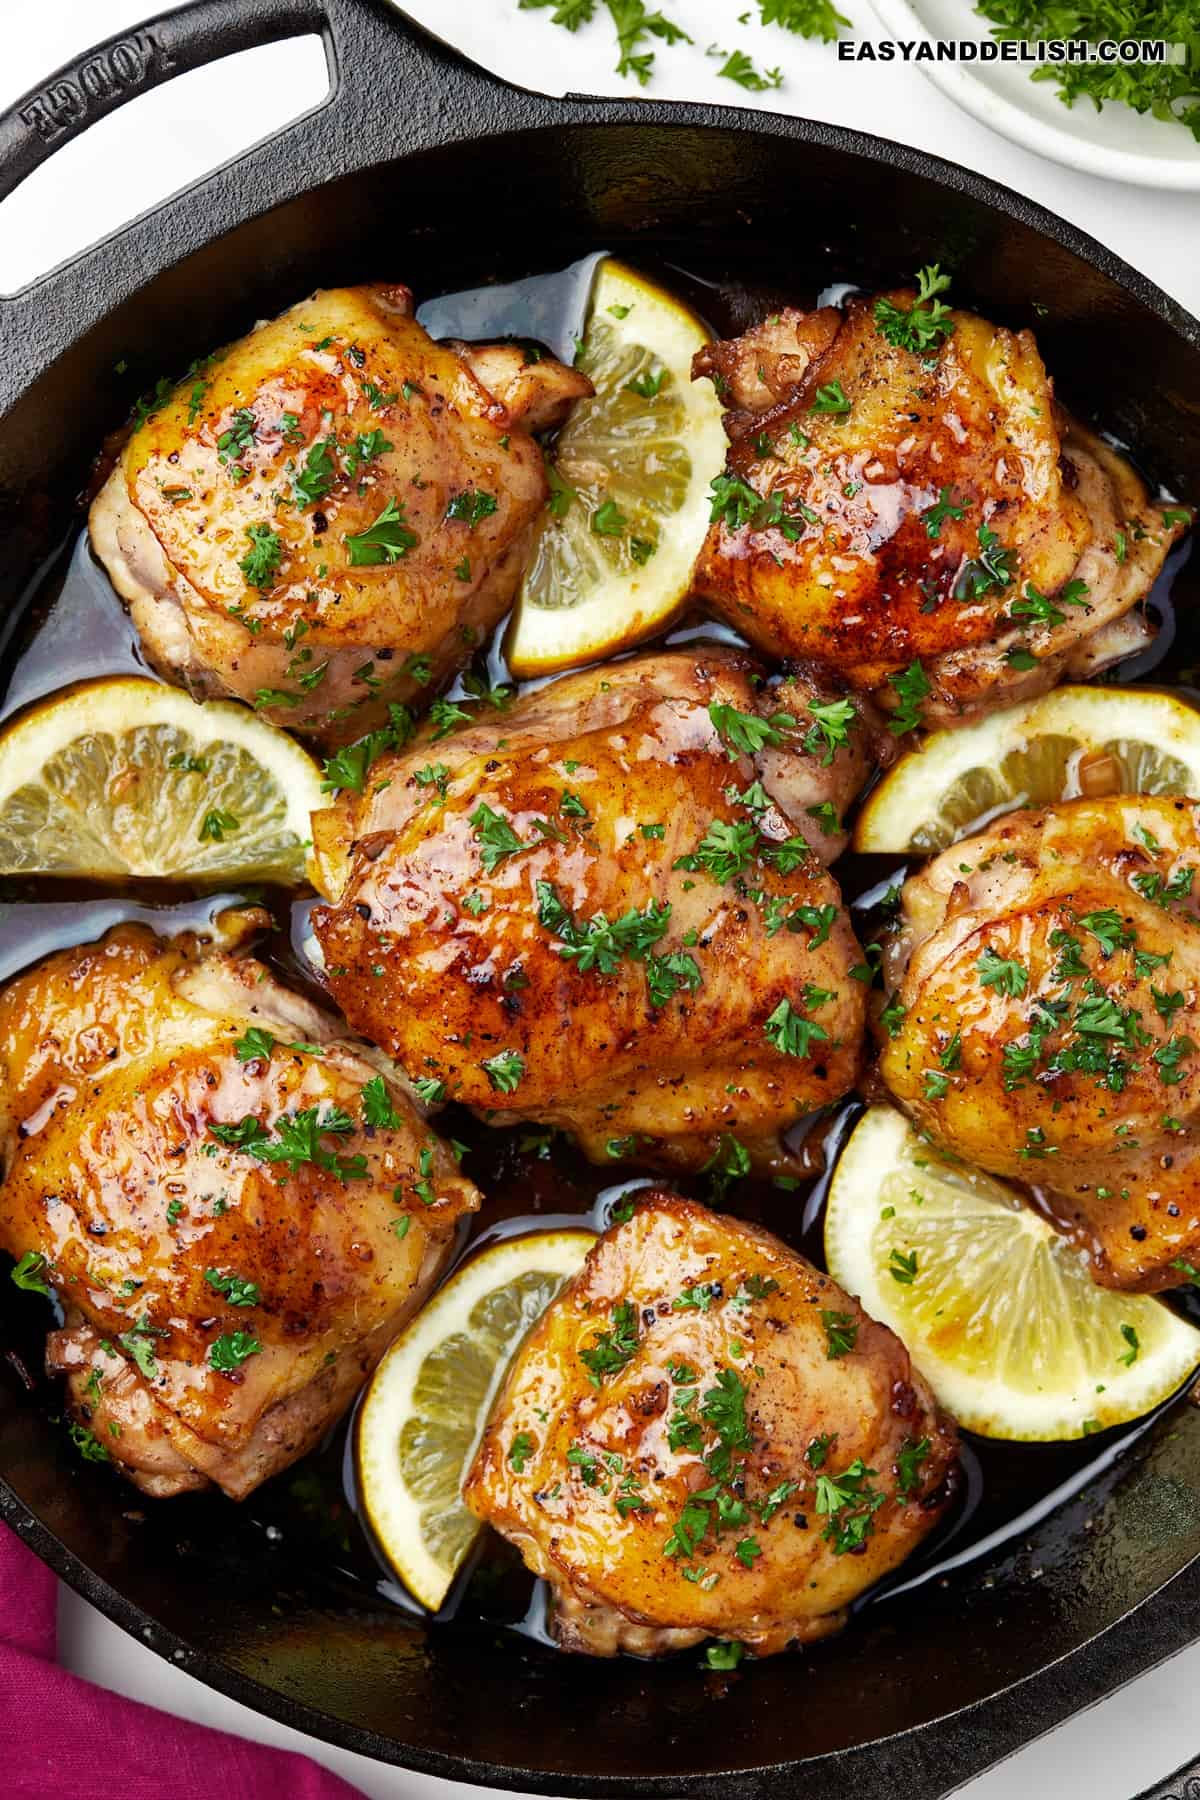
Browned butter, honey, and garlic create a sweet, savory, and sticky sauce that perfectly coats the chicken thighs. Broiling them at the end helps achieve crispy skins on the outside while keeping the insides juicy and tender.
Enjoy it as-is or pair your chicken with sides like steamed vegetables, rice, and mashed potatoes.
Table of Contents
How to make honey butter chicken
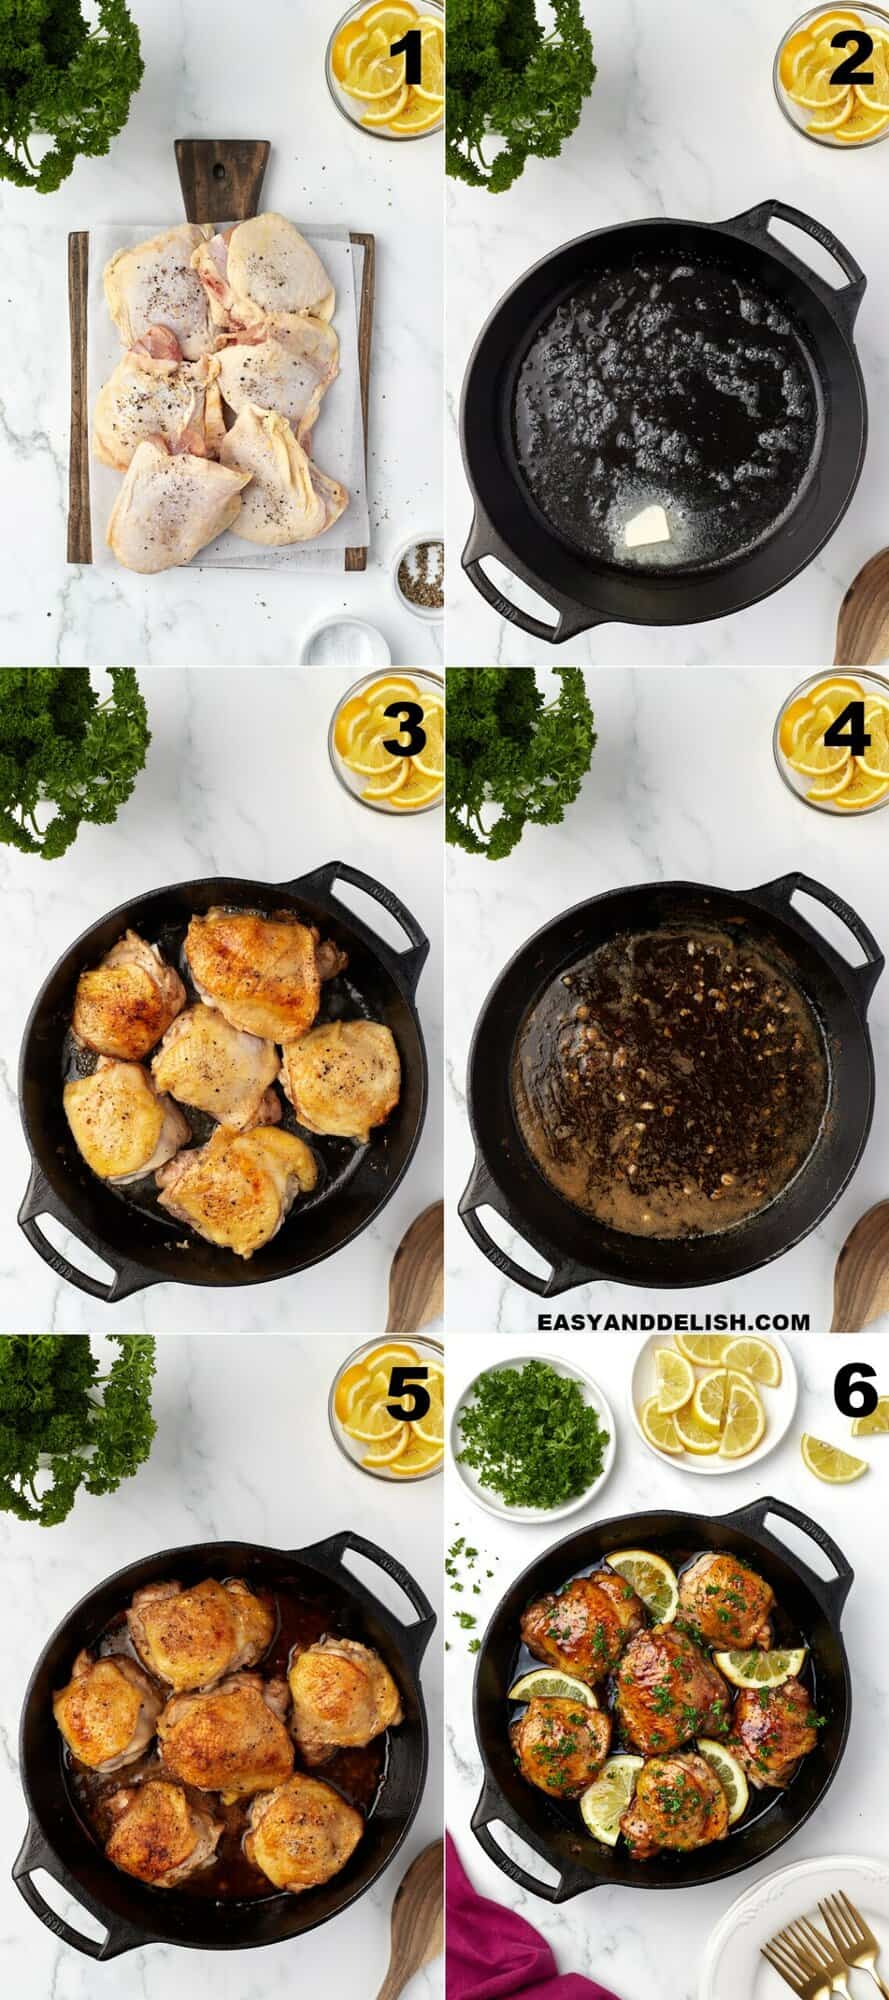
- Position an oven shelf about 8 inches away from the heating element of your oven broiler. Then, turn on the broiler!
- Pat chicken dry with a paper towel, then SEASON the thighs! PIC. 1 Heat a large cast iron skillet over medium-high heat until sizzling hot. Then, melt 2 tablespoons of butter. PIC. 2
- SEAR the chicken thighs, skin side down first, until the skin is nice and crispy (about 5 minutes). Flip and sear again until golden and crisp (about another 5 minutes). PIC. 3
- MAKE THE SAUCE
- COOK SKIN SIDE UP for 5 minutes in the sauce, while basting the tops or chicken skin with the pan juices.
- BROIL for 2-3 minutes, or until the chicken skin is nicely charred.
- ALTERNATIVELY FOR OVEN BAKED CHICKEN: Preheat oven to 400°F or 200°C. Get more details in the recipe card!
- Finally, SERVE with lemon wedges around the chicken and chopped parsley on top. PIC. 6
NOTE:
FOR BONELESS SKINLESS CHICKEN THIGHS:
- Sear boneless chicken thighs on both sides until golden brown. Transfer them to a plate and reserve.
- Then, make the sauce following our recipe instructions.
- Add the thighs back into the pan and cook for 5-7 minutes in the sauce, while basting the tops with the pan juices. Flip and keep cooking them in the sauce until cooked through. Adjust the salt and pepper, to your taste. It will take about half the time to cook compared to bone-in, skin-on chicken thighs.
Useful tips for making this honey butter chicken
Skin-on: Although you can use skinless chicken, it’s best to keep it on since it locks in moisture and keeps the chicken thighs extra juicy.
Cast iron: Cast iron is the best choice for cooking chicken. The heat is evenly distributed, and it creates crispy, charred skins as compared to aluminum or steel.
Dry the chicken: To achieve extra crispy skin and help the seasonings stick, don’t forget to pat the chicken dry with paper towels before cooking them.
Watch the butter: It’s important to keep an eye on the butter so it browns but doesn’t burn. Make sure you’re stirring it frequently and keep the heat on medium.
Marinate: For a deeper flavor penetration and ultra-juicy chicken, try marinating the thighs overnight in the sauce though.
What to serve with honey-glazed chicken
- Once your honey-glazed chicken thighs are golden and crispy, serve them alongside hearty side dishes like Smashed Potatoes, Mashed Sweet Potatoes, No Yeast Bread, or steamed rice.
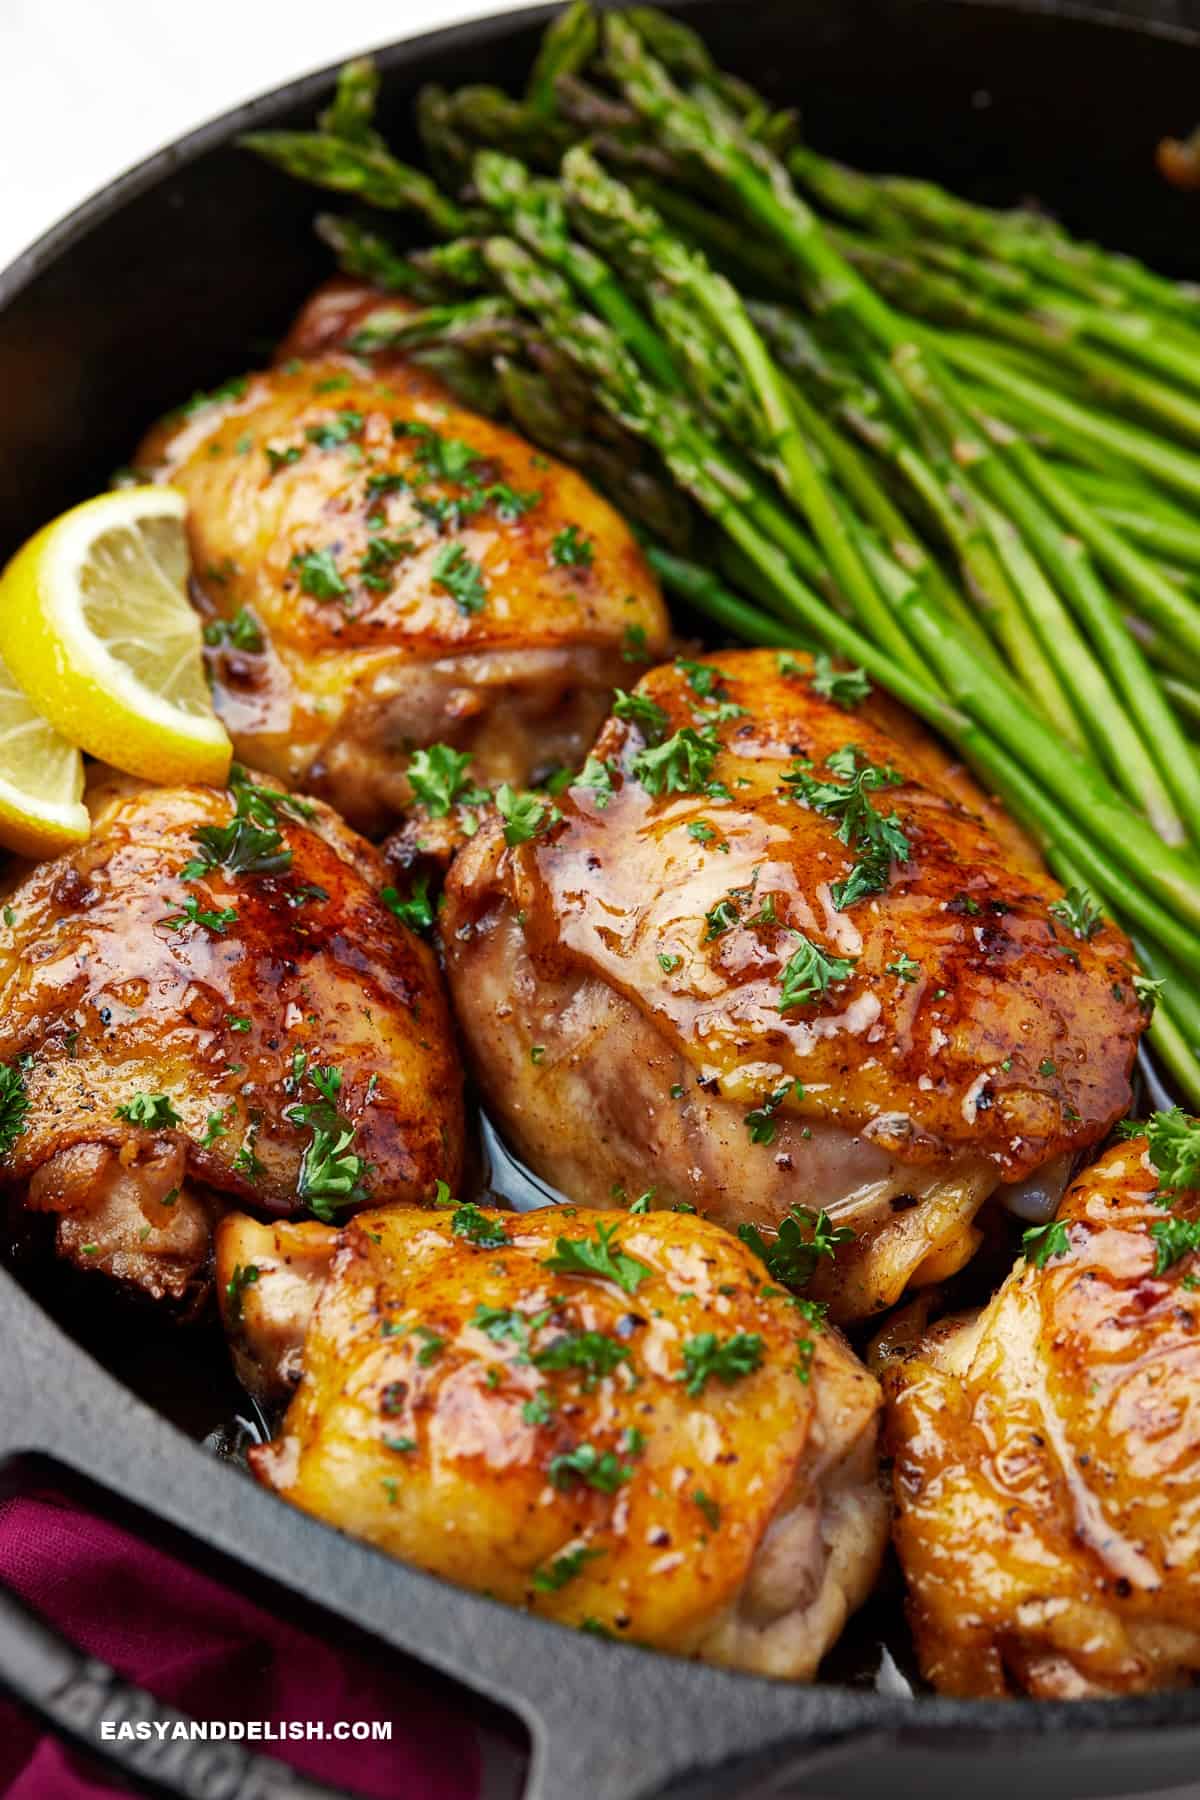
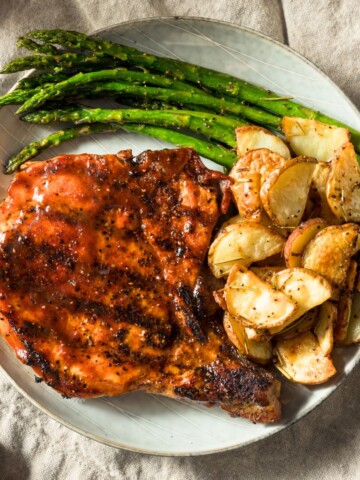
- For a lighter meal, pair this honey butter chicken recipe with vegetables like Air Fryer Broccolini, Air Fryer Brussels Sprouts, or this Air Fryer Asparagus.
- It also goes beautifully with fresh greens like Butternut Squash Salad, Beet Goat Cheese Salad, or Shaved Brussels Sprout Salad.
FAQs
In my experience as a Chef, I know you don't have a cast-iron pan for honey-glazed chicken thighs. You can have any heavy-bottomed skillet that conducts heat evenly and prevents the chicken from sticking to the pan.
I prefer using bone-in chicken thighs because the bones keep the thighs moist and provide rich flavors. However, this recipe will still turn out great with boneless chicken thighs. Just remember to reduce the cooking time by about half.
Yes, honey-glazed chicken thighs are quite easy to make low-carb or keto-friendly. All you have to do is swap out the honey for your favorite keto or sugar-free honey. If you can’t find sugar-free honey, there are also options for sugar-free agave and maple syrup you can try.
No, you don’t! However, broiling the skin-on chicken thighs in the oven will help to crisp up the skin. Either way, to ensure the chicken is fully cooked, use a meat thermometer and make sure the internal temperature reaches 165 degrees F.
The best way to achieve crispy chicken skin is to sear it for 6-7 minutes until it’s crisped before flipping it. Many cooks make the mistake of flipping too frequently, which doesn’t allow the chicken time to properly crisp. Additionally, I like to finish my chicken thighs off under broil in the oven.
Other chicken recipes to enjoy
If you enjoyed this honey butter chicken recipe, be sure to take a look at some more of my favorite chicken-based dishes like these:
- Air fryer chicken legs
- Slow cooker chicken thighs
- Gluten-free chicken noodle soup
- Air fryer chicken thighs
- 70 chicken recipes for dinner
- Gluten-free chicken parmesan
- Baked chicken breast
- Easy chicken curry
- Sticky Asian glazed chicken
PIN & ENJOY!
Honey Butter Chicken
Equipment
- 1 large cast-iron pan
- 1 cutting board
- 1 Chef's knife
- 1 tongs
Ingredients
- 6 chicken thighs bone-in, skin-on (But you can use boneless skinless chicken thighs, although they'll cook in half the time).
- Salt and pepper to taste
- 6 tablespoons unsalted butter divided
- ¼ cup 4 tablespoons honey - Agave, brown rice syrup, and maple syrup also work. Use sugar-free honey or maple syrup for a low carb version!
- 1 tablespoon minced garlic or 4 cloves garlic, minced - Garlic powder works in a pinch. Use ¼-teaspoon for every fresh clove.
- 2 tablespoons fresh squeezed lemon juice Lime works as well.
- 2-4 tablespoons chicken broth OPTIONAL - This can be replaced with vegetable broth or water.
- 4 Lemon wedges to serve - Or try lime wedges.
- 2 tablespoons fresh chopped parsley - You can also try cilantro or basil. OPTIONAL
Instructions
- Position an oven shelf about 8-inches away from heat element of your oven broiler. Turn on the broiler!
- SEASON: Pat chicken dry with paper towel, then season the thighs well with salt and pepper. Heat a large cast iron skillet over medium high heat until sizzling hot. Then, melt 2 tablespoons of butter.
- SEAR the chicken thighs, skin side down first, until the skin is nice and crispy (about 5 minutes). Flip and sear again until golden and crisp (about another 5 minutes). Drain most of the excess grease from the pan, leaving 2 tablespoons of the pan juices for added flavor. Transfer chicken to a warm plate and reserve.
- MAKE THE SAUCE: Melt the 4 remaining tablespoons of butter over medium heat in the same skillet you seared the chicken, scraping any bits left over from the chicken with a spatula.
- Stir the butter and swirl the pan now and then for about 3 minutes or until the foam settles and the butter starts to become golden brown with a nutty aroma.
- Stir in the honey and let it dissolve into the butter. Then add in the garlic and sauté for about 1 minute until fragrant. Stir in the lemon juice until combining all of the flavors together. Add the chicken back into to the browned butter/honey mixture in the skillet.
- COOK SKIN SIDE UP for 5 minutes in the sauce, while basting the tops or chicken skin with the pan juices. Reduce heat to medium-low, cover the skillet with a lid, and allow the chicken to cook until cooked through.
- Just make sure to flip the thighs every 5 minutes or so until done (about extra 10-15 minutes depending on the size of the thighs). If needed, adjust the salt and pepper! Stir in 2-3 tablespoons of chicken broth if the sauce becomes to thick.
- BROIL: Transfer the skillet to your oven to broil for 2-3 minutes, or until the chicken skin is nicely charred.
- ALTERNATIVELY FOR OVEN BAKED CHICKEN: Preheat oven to 400°F or 200°C. Sear chicken in a cast-iron skillet, skin side down first, for 3 minutes. Flip and sear for additional 3 minutes until browned.
- Transfer the chicken to a plate; make the sauce following the recipe instructions above, then add the chicken into the sauce. Transfer to the oven to bake for 20-25 minutes until fully cooked through and no longer pink inside. Change oven settings to broil, until nicely charred on the tops (2-3 minutes).
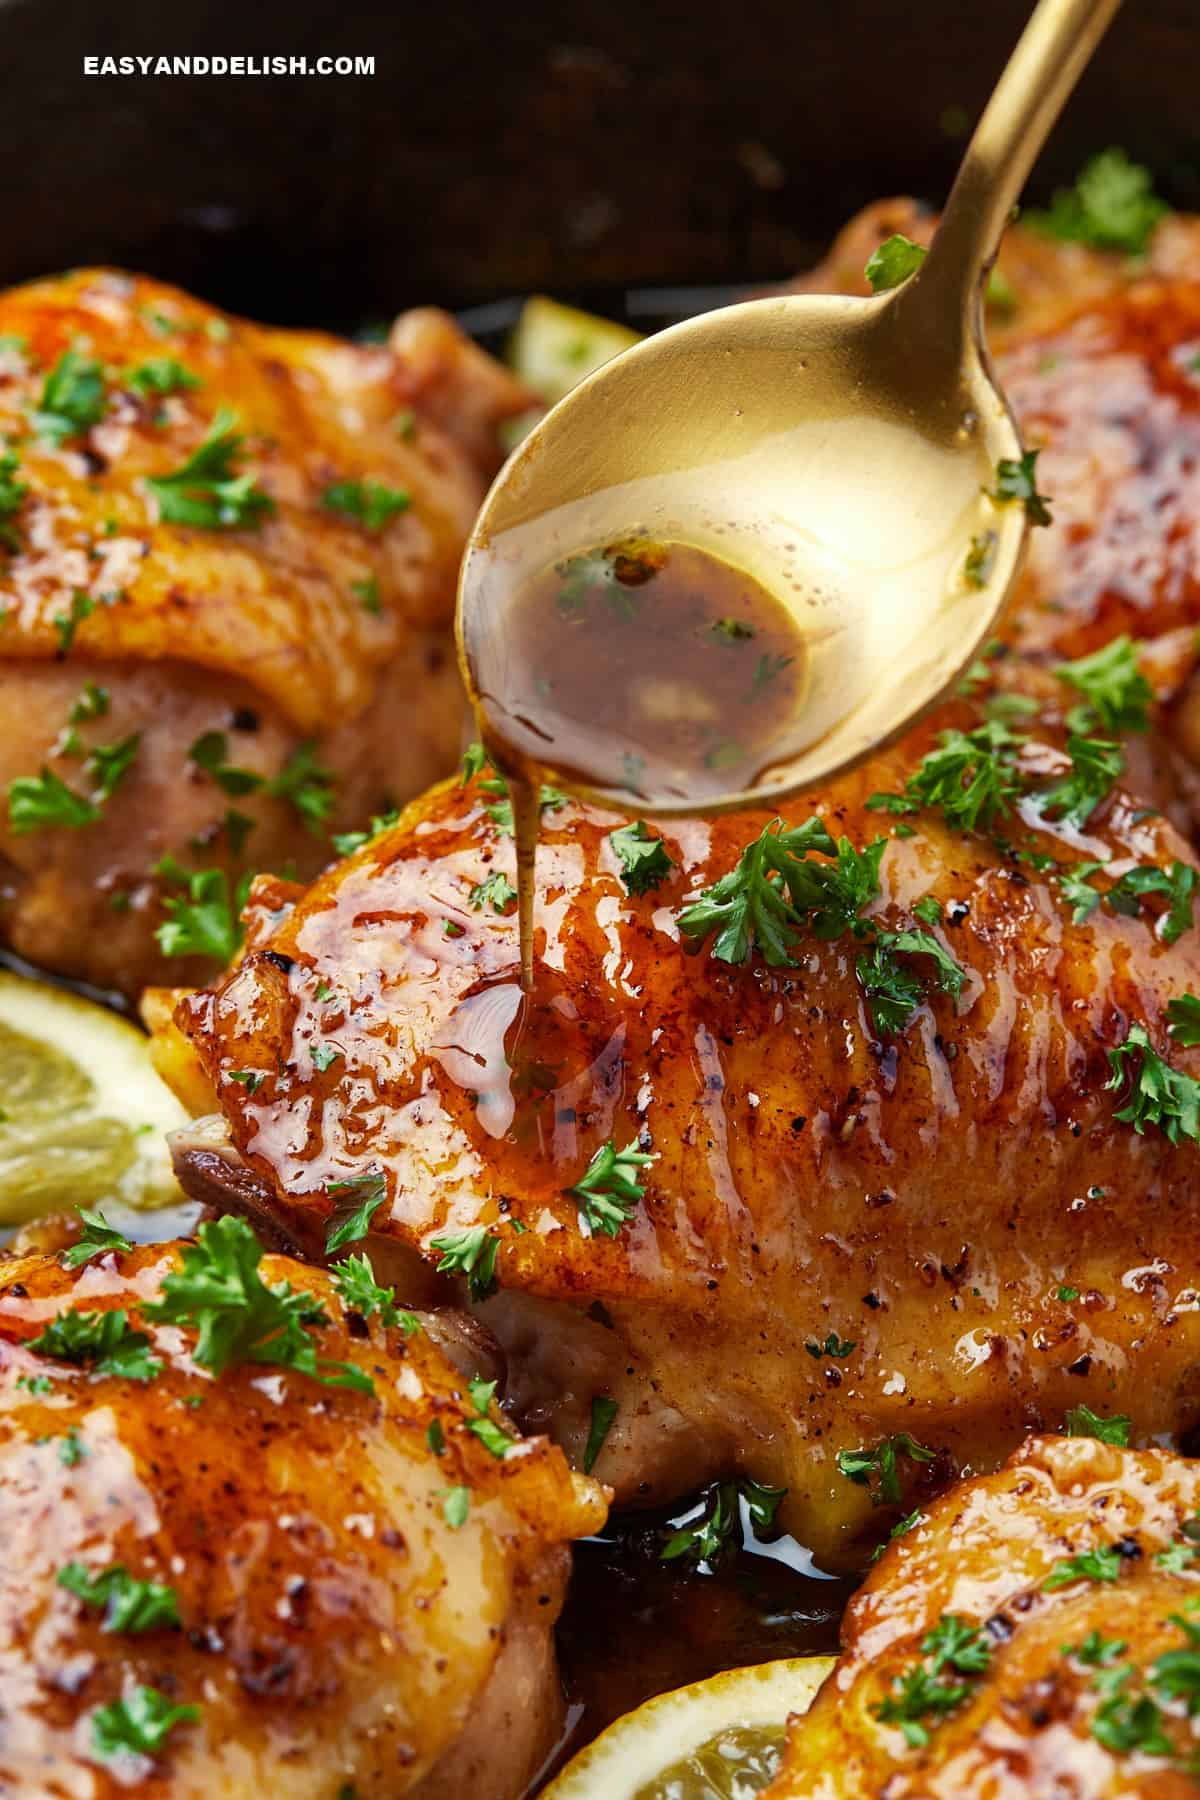
- SERVE with lemon wedges around the chicken and chopped parsley on top, drizzled with the pan juices. Steamed veggies such as asparagus go well with it!
Recipe Video

Recipe Notes
- Sear boneless chicken thighs on both sides until golden brown. Transfer them to a plate and reserve.
- Then, make the sauce following our recipe instructions.
- Add the thighs back into the pan and cook for 5-7 minutes in the sauce, while basting the tops with the pan juices. Flip and keep cooking them in the sauce until cooked through. Adjust the salt and pepper, to your taste. It will take about half the time to cook compared to bone-in, skin-on chicken thighs.
- Fridge: Let the chicken cool completely, then transfer it to an airtight container for up to 3 days in the fridge.
- Freezer: For longer storage periods, transfer the chicken to a freezer-safe bag or container. It will stay fresh for 2-3 months in the freezer.
- Thaw: Thaw the chicken in the fridge overnight before you’re going to reheat it again.
- Reheating: Once thawed, heat honey butter chicken over medium heat for 4-5 minutes, flipping halfway. Alternatively, heat it in the oven at 375 degrees F on a parchment-lined pan. Cook it for 15 minutes, or until warmed through.
- Add spice: If you want to add a little kick, try adding red pepper flakes, Sriracha, or sambal oelek to the honey butter sauce.
- Herbs: Try adding herbs to impart different flavors. Some of my favorites for this recipe include thyme, rosemary, oregano, or marjoram.
- Tangy: If you’re looking for some tang, add a few tablespoons of mustard, lime juice, or apple cider vinegar to the sauce.
- Asian-inspired: Add soy sauce, sesame oil, and minced ginger to the honey butter sauce for added umami, nutty, and spicy elements.
- Chicken breast: This recipe works with chicken breasts as well. To quickly cook chicken breasts on the stovetop, butterfly them beforehand.
Nutrition
** Nutrition labels on easyanddelish.com are for educational purposes only. This info is provided as a courtesy and is only an estimate, since the nutrition content of recipes can vary based on ingredient brand or source, portion sizes, recipe changes/variations, and other factors. We suggest making your own calculations using your preferred calculator, based on which ingredients you use, or consulting with a registered dietitian to determine nutritional values more precisely.
Please note that health-focused and diet information provided on easyanddelish.com is for educational purposes and does not constitute medical advice, nor is it intended to diagnose, treat, cure, or prevent disease. Consult with your doctor or other qualified health professional prior to initiating any significant change in your diet or exercise regimen, or for any other issue necessitating medical advice.




Leave a Reply