
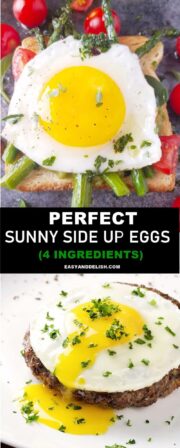
A quick breakfast favorite, Sunny-Side Up Eggs bring soft whites and runny yolks together with minimal ingredients. Enjoy them with toast, vegetables, rice, or grilled steak.
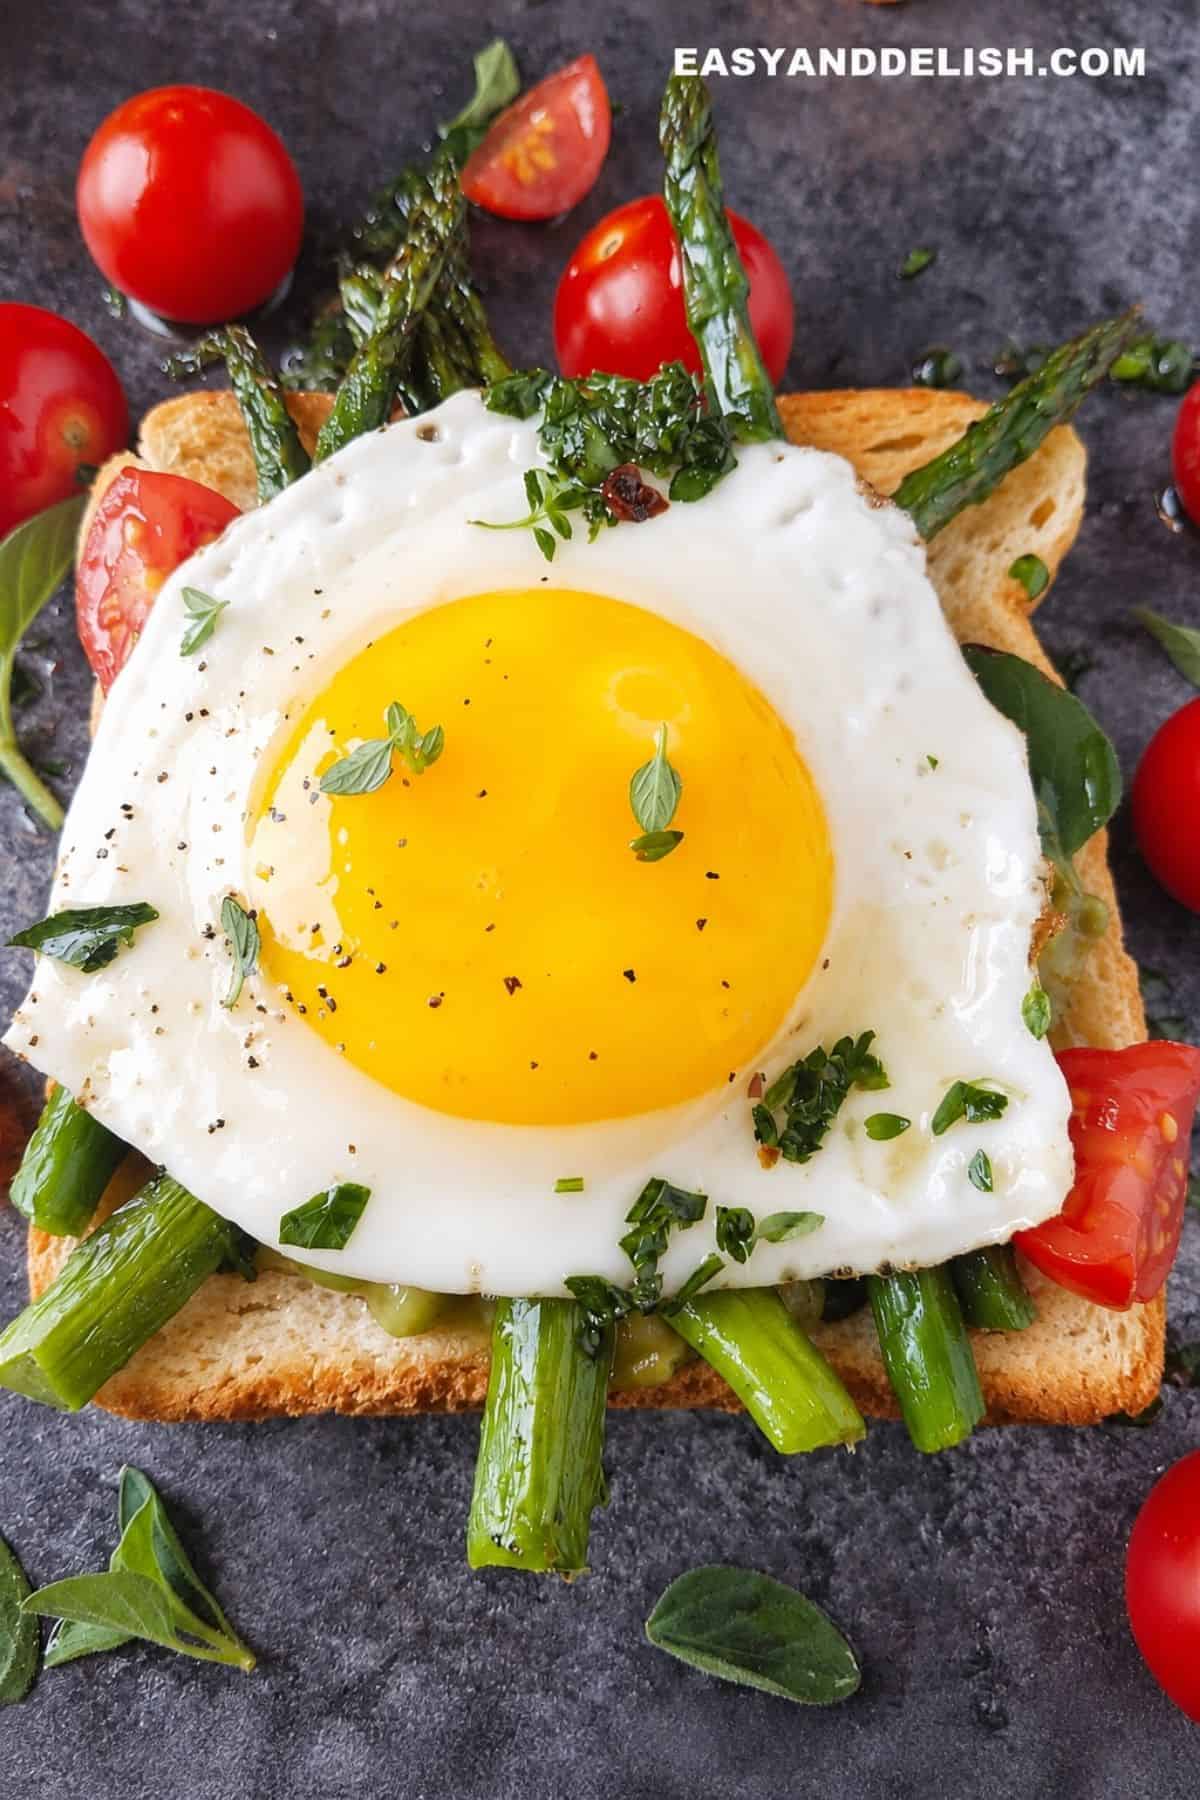
Ready in just a few minutes, easy sunny side up eggs make a simple skillet breakfast with tender whites and rich, runny yolks. With very little prep involved, they pair naturally with Easy Sourdough Bread, Coconut Flour Pancakes, or French Toast.
Quick Look: Sunny-Side Up Eggs
- 🔥 Cook Time: 3 minutes
- ⏲️ Total Time: 3 minutes
- 🍽️ Servings: 2 eggs
- ⚡ Calories: 124.8 kcal
- 🌶️ Flavor Profile: Savory and lightly seasoned
- 🥚 Texture: Soft whites and runny yolks
- 👌 Difficulty: Easy
- 🎉 Best For: Breakfast, brunch, sandwiches, and rice bowls
- 🍳 Cooking Method: Stovetop skillet
- 🧈 Key Ingredients: Eggs, cooking fat, salt, and black pepper
- Why This Recipe Works: Medium-low heat gives the whites enough time to set without overcooking the yolks. Lower heat also reduces the chance of browned, overly crisp edges.
SUMMARIZE & SAVE THIS CONTENT ON
Jump to:
- Quick Look: Sunny-Side Up Eggs
- Perfect Sunny Side Up Eggs
- Chef’s Notes from Valentina
- Ingredients
- Substitutions And Additions
- How to Make Sunny-Side Up Eggs
- Expert Tips for Sunny-Side Up Eggs
- FAQ About Sunny-Side Up Eggs
- Sunny Side Up Eggs Calories and Nutrition
- What to Serve With Sunny Side Up Eggs
- More Ways to Enjoy Eggs
- Sunny-Side Up Eggs
- Storage and Reheating
Perfect Sunny Side Up Eggs
Eggs appear in cuisines around the world and can be prepared in many different ways. In Brazil, we also enjoy a fried egg over grilled steak in a dish called Bife à Cavalo.
After sharing my tutorial on how to hard boil eggs, I wanted to share my method for how to cook perfect sunny side up eggs with set whites and soft, runny yolks.
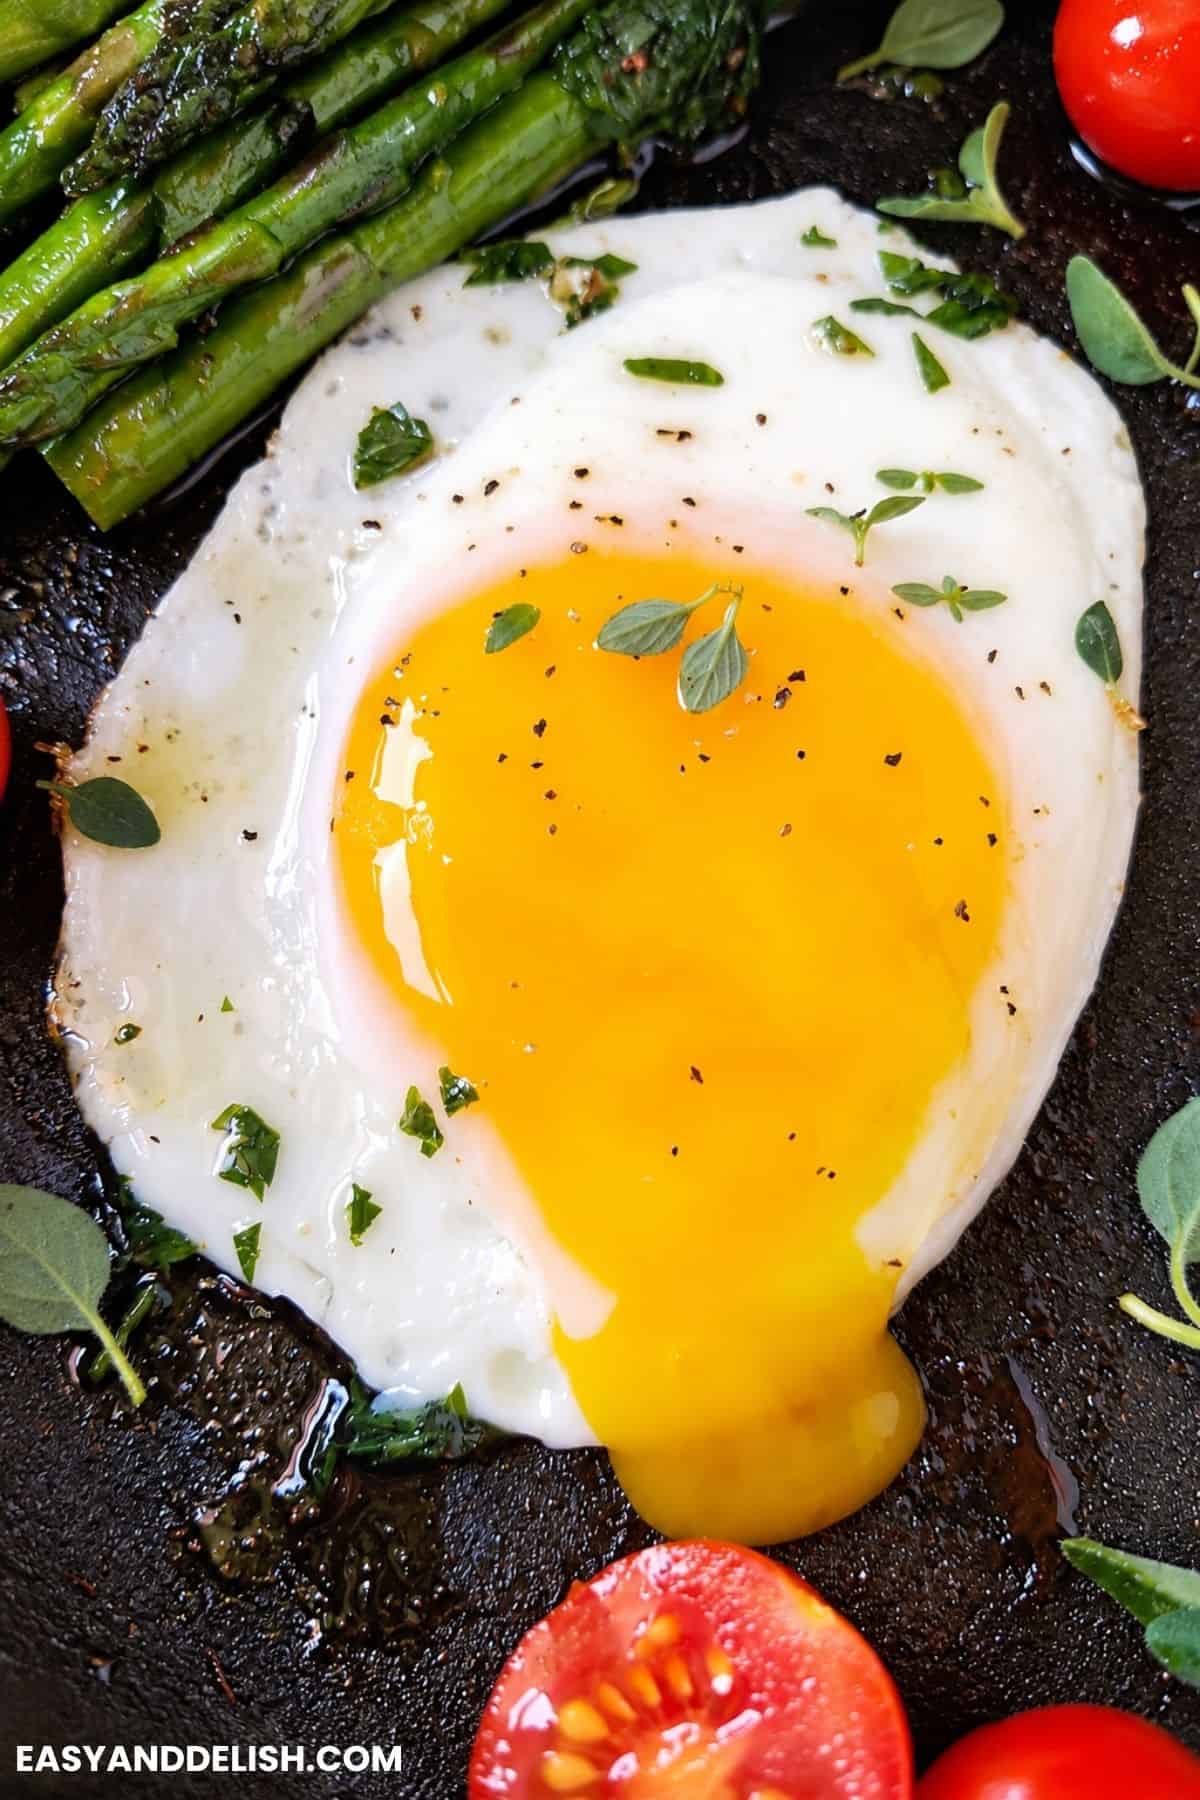
A sunny side up egg cooks on one side without being flipped. The yolk remains visible on top, while the white cooks until set.
The flip is the main difference between sunny side up and over-easy eggs. Over-easy eggs cook briefly on the second side, while the yolks remain runny.
More time on the second side produces over-medium eggs, which have partially set yolks. Over-hard eggs cook even longer until the yolks are completely firm.
Ingredients
- Olive oil – 1 tablespoon. Lightly coats the skillet and helps the eggs release cleanly without making them greasy.
- Large eggs – 2. Large eggs match the cooking time given in the instructions. Crack them gently to keep the yolks whole. Learn How to Hard Boil Eggs for perfectly cooked yolks using a different cooking method.
- Salt and ground black pepper – to taste. Add them just before serving and adjust the amount to preference.
How to Make Sunny-Side Up Eggs
- Heat the skillet: Heat a large nonstick skillet over medium-low heat. Choose one large enough to hold 2 to 3 eggs with space between them to prevent steaming.
- Check the temperature: Pour about ½ teaspoon of water into the skillet. Wait until the water sizzles and evaporates before cooking the eggs.
- Coat the skillet: Lightly coat the bottom with about 1 tablespoon olive oil, butter, bacon fat, or clarified butter. Melt the butter first if using it. Keep the coating light since a nonstick skillet doesn’t require much fat.
- Crack the eggs: Gently crack the eggs into the skillet without breaking the yolks. Leave space between them to prevent overcrowding.
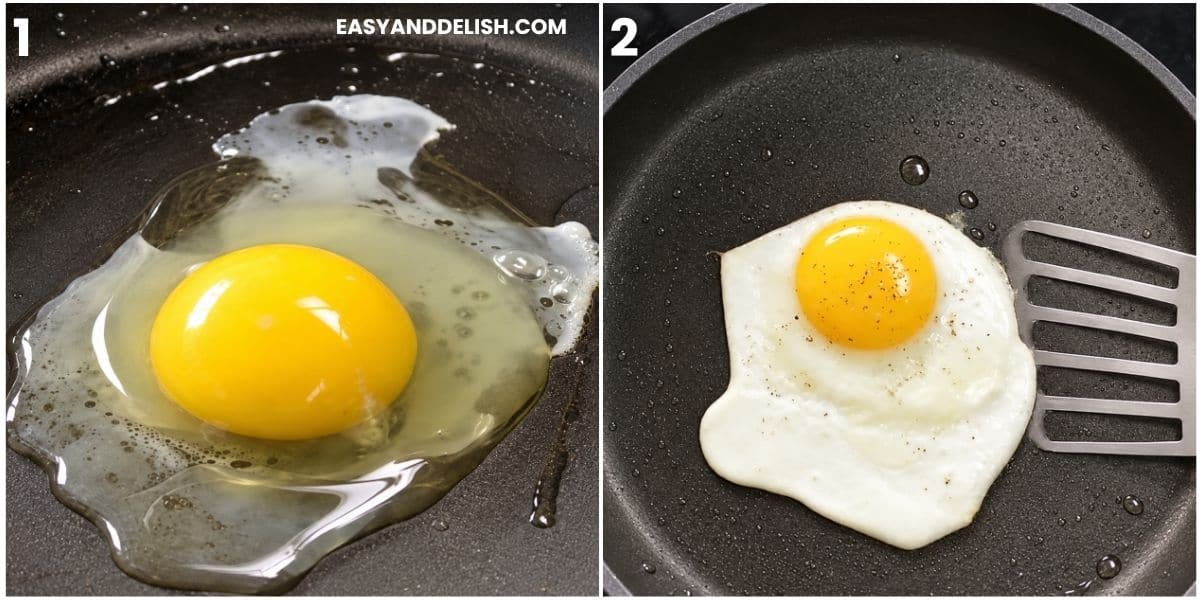
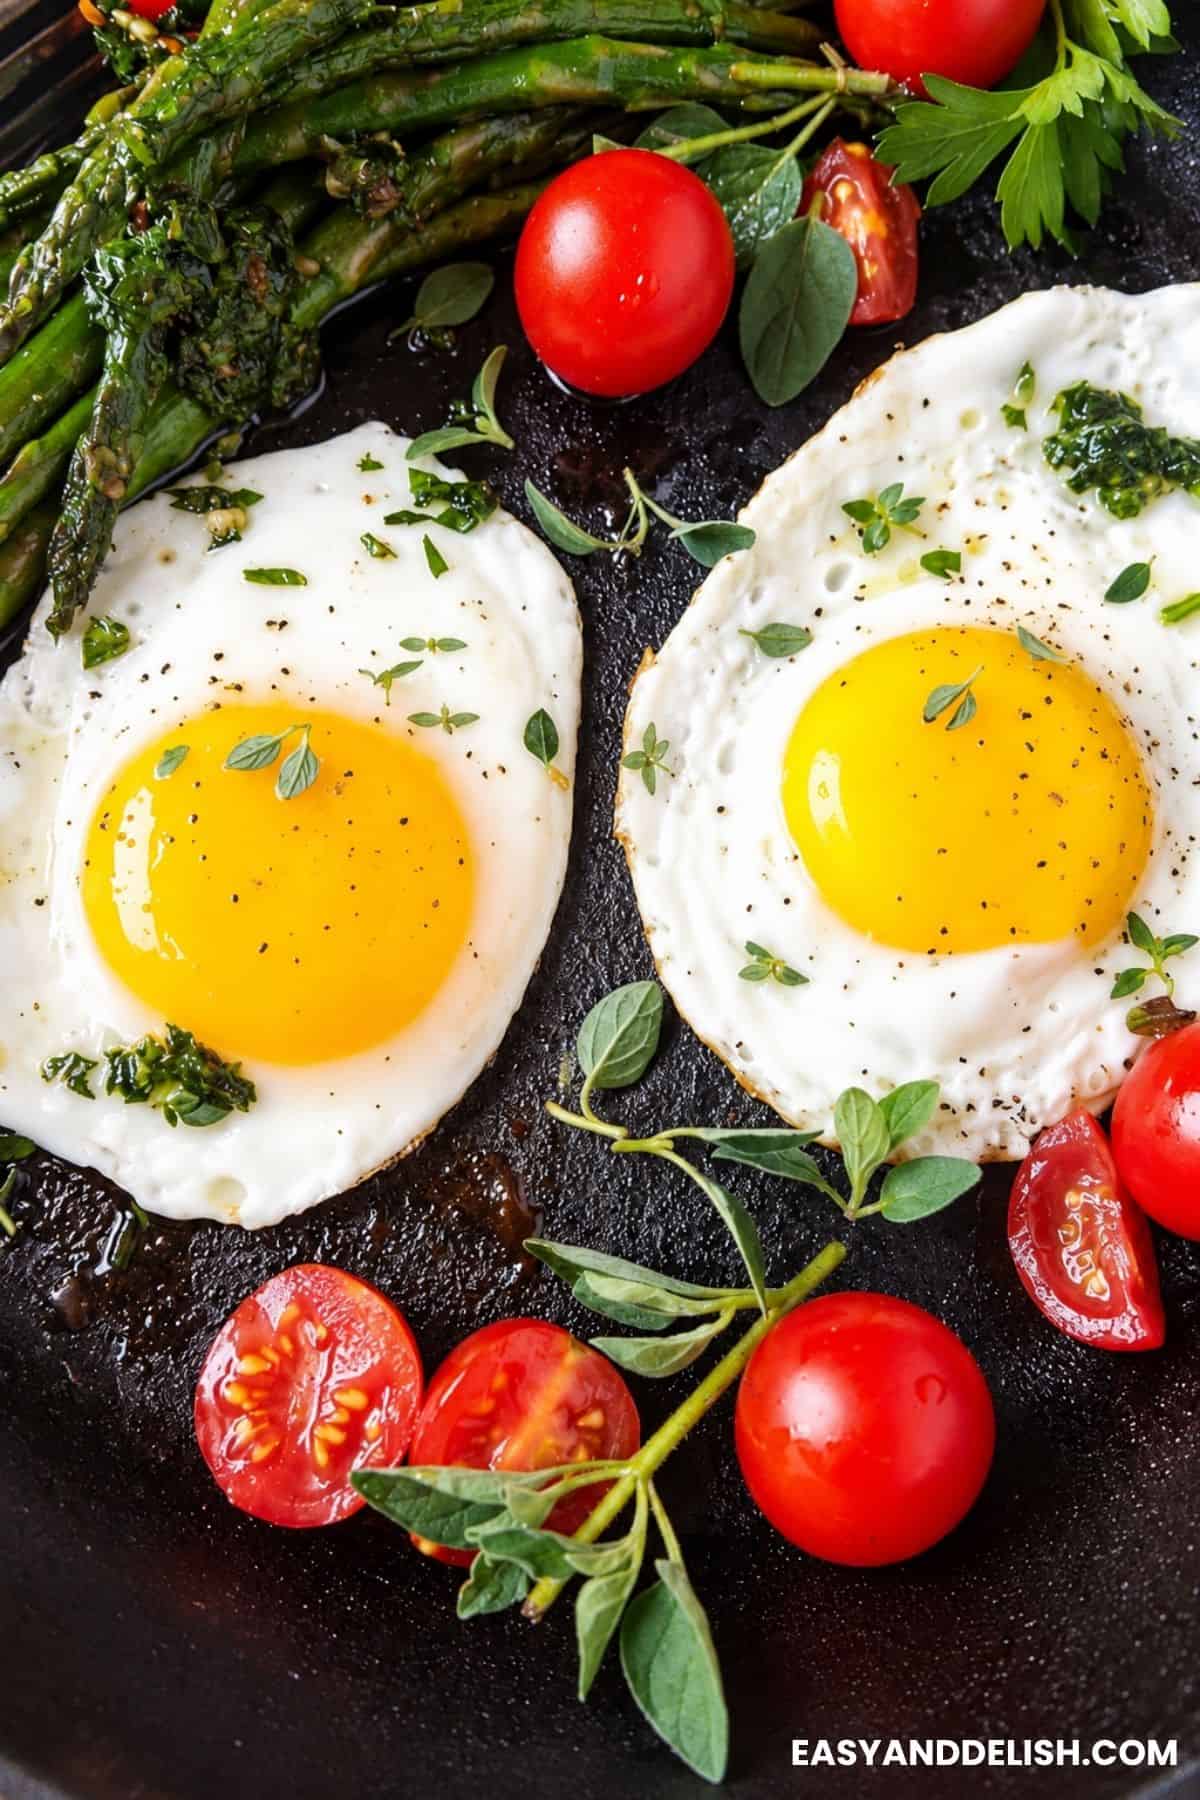
Note: Use an egg ring if desired to keep the eggs round and the yolks centered. - Cook the eggs: Cook over medium-low heat for 2 to 2 ½ minutes. Wait until the whites change from clear to opaque and the tops set, with the yolks still runny. Lower the heat if the edges begin to brown too quickly. PIC. 1
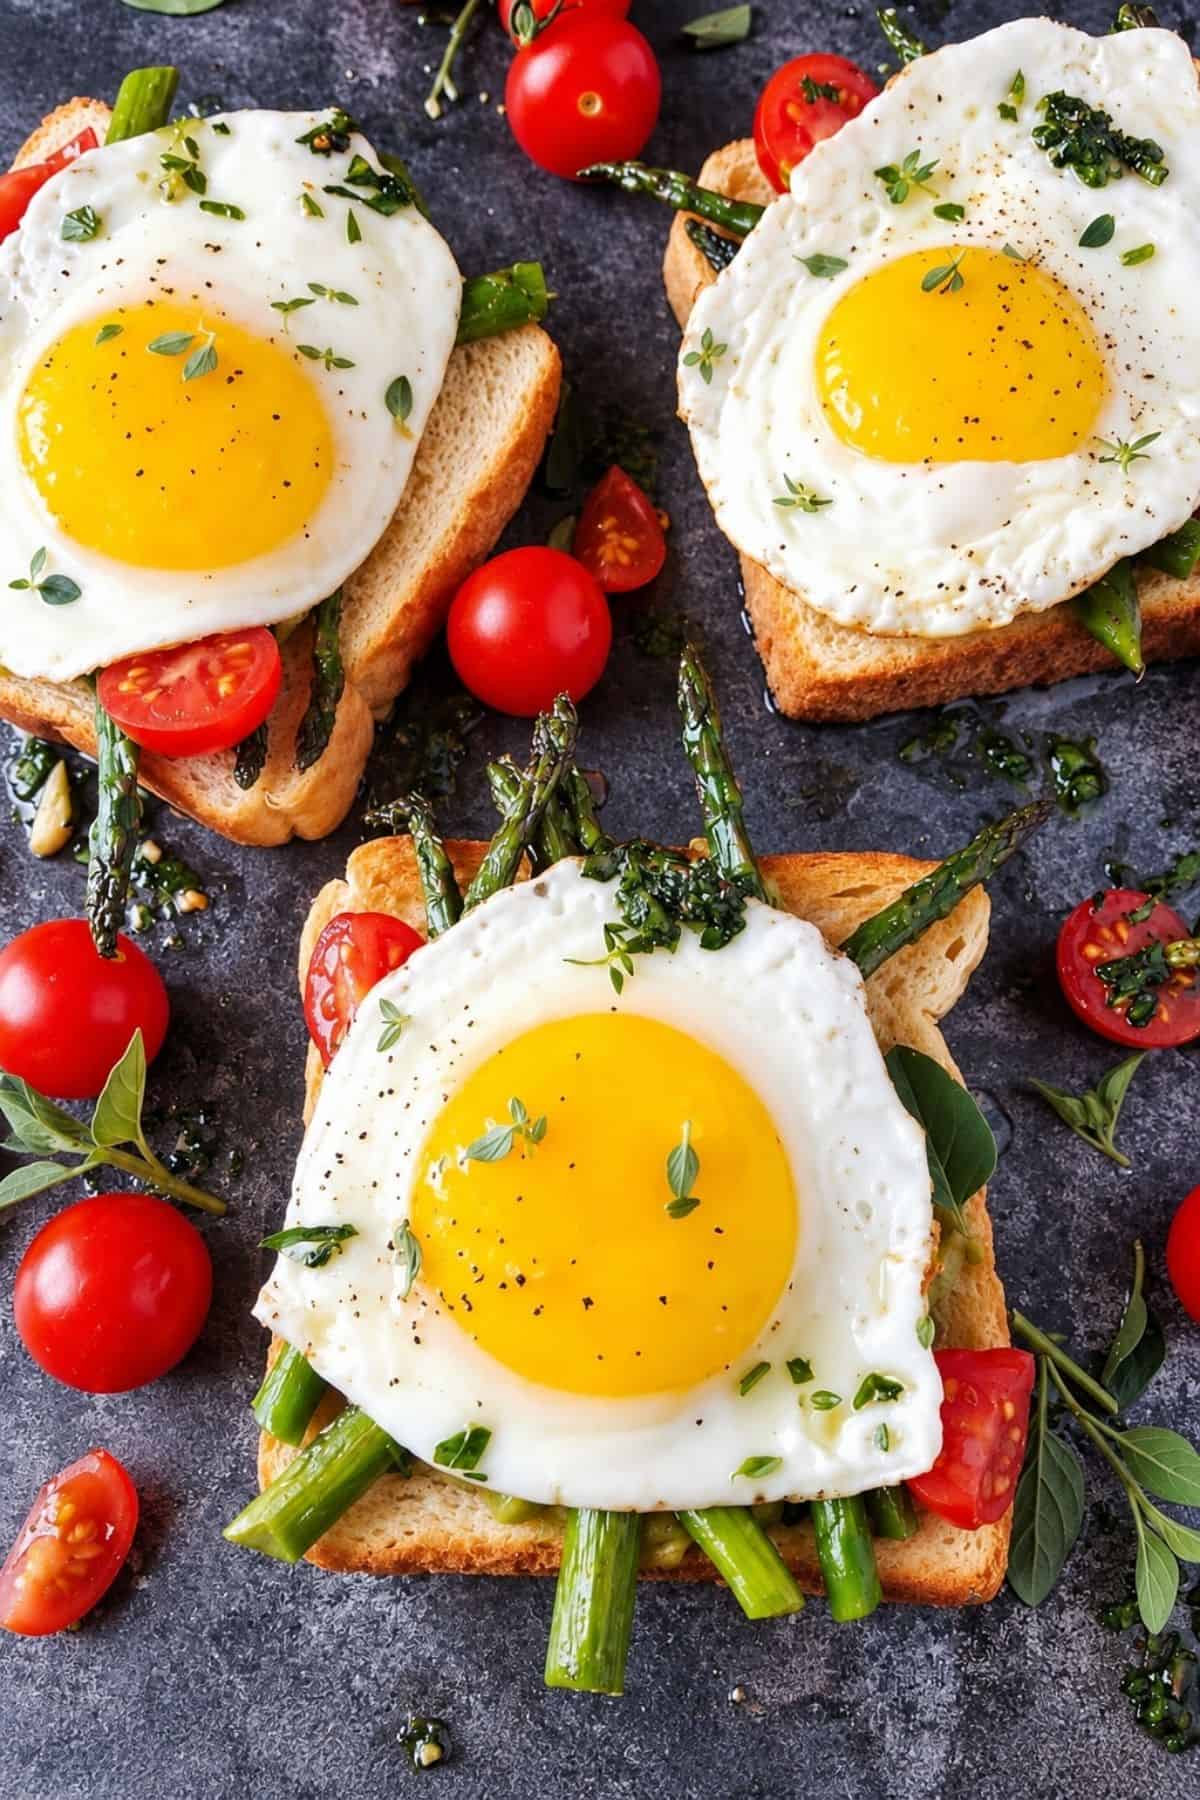
Note: Check the thicker white around the yolk. If it still looks clear or wet, cook the eggs a little longer. - Lift the eggs: Remove the skillet from the heat. Slide a large, thin metal spatula under each egg and lift it from the skillet. Use the wide blade to support the soft yolk and avoid tearing the white. PIC. 2
Note: Dab away excess oil gently with a paper towel if preferred to keep the eggs from feeling greasy. - Season and serve: Season with salt and freshly ground black pepper. Sprinkle with fresh or dried herbs if desired, then serve immediately.
FAQ About Sunny-Side Up Eggs
Cook the eggs gently over medium-low heat until the whites are set, but the yolks are still soft and runny, about 2 to 2 ½ minutes. Remove them from the skillet as soon as the whites are cooked.
Cook sunny side up eggs over medium-low heat for about 2 to 2 ½ minutes. The whites should turn opaque and set while the yolks remain runny.
The skillet may be too hot. Lower the heat if the cooking fat begins to spit or the edges start browning before the whites have finished setting.
Yes. Covering the skillet can help the tops of the whites set without flipping the eggs. Keep an eye on the yolks and remove the eggs once the whites are cooked but the yolks are still runny.
Sunny Side Up Eggs Calories and Nutrition
The calories in sunny side up eggs vary depending on the size of the eggs and the type and amount of cooking fat used.
Check the nutrition information in the recipe card for the calculated values for this Sunny Side Up Eggs recipe.
What to Serve With Sunny Side Up Eggs
- Breakfast potatoes: Hash browns, home fries, or seasoned breakfast potatoes add a crisp, savory side.
- Chilaquiles: Top tortilla chips with the eggs, salsa, cheese, and other toppings, similar to Breakfast Chilaquiles.
- Breakfast tacos: Pair the eggs with warm tortillas, beans, avocado, salsa, or cheese. Try the Brisket Breakfast Tacos for another breakfast taco idea.
- Burgers: Add a fried egg to a burger with cheese and your favorite toppings, as in the X-Tudo Brazilian Cheeseburger.
- Fresh fruit: Serve berries, melon, citrus, or sliced fruit alongside the eggs.


Did You Love This Recipe? If you make this recipe and love it, stop back, give it a 5-star rating ★★★★★ and leave a comment.
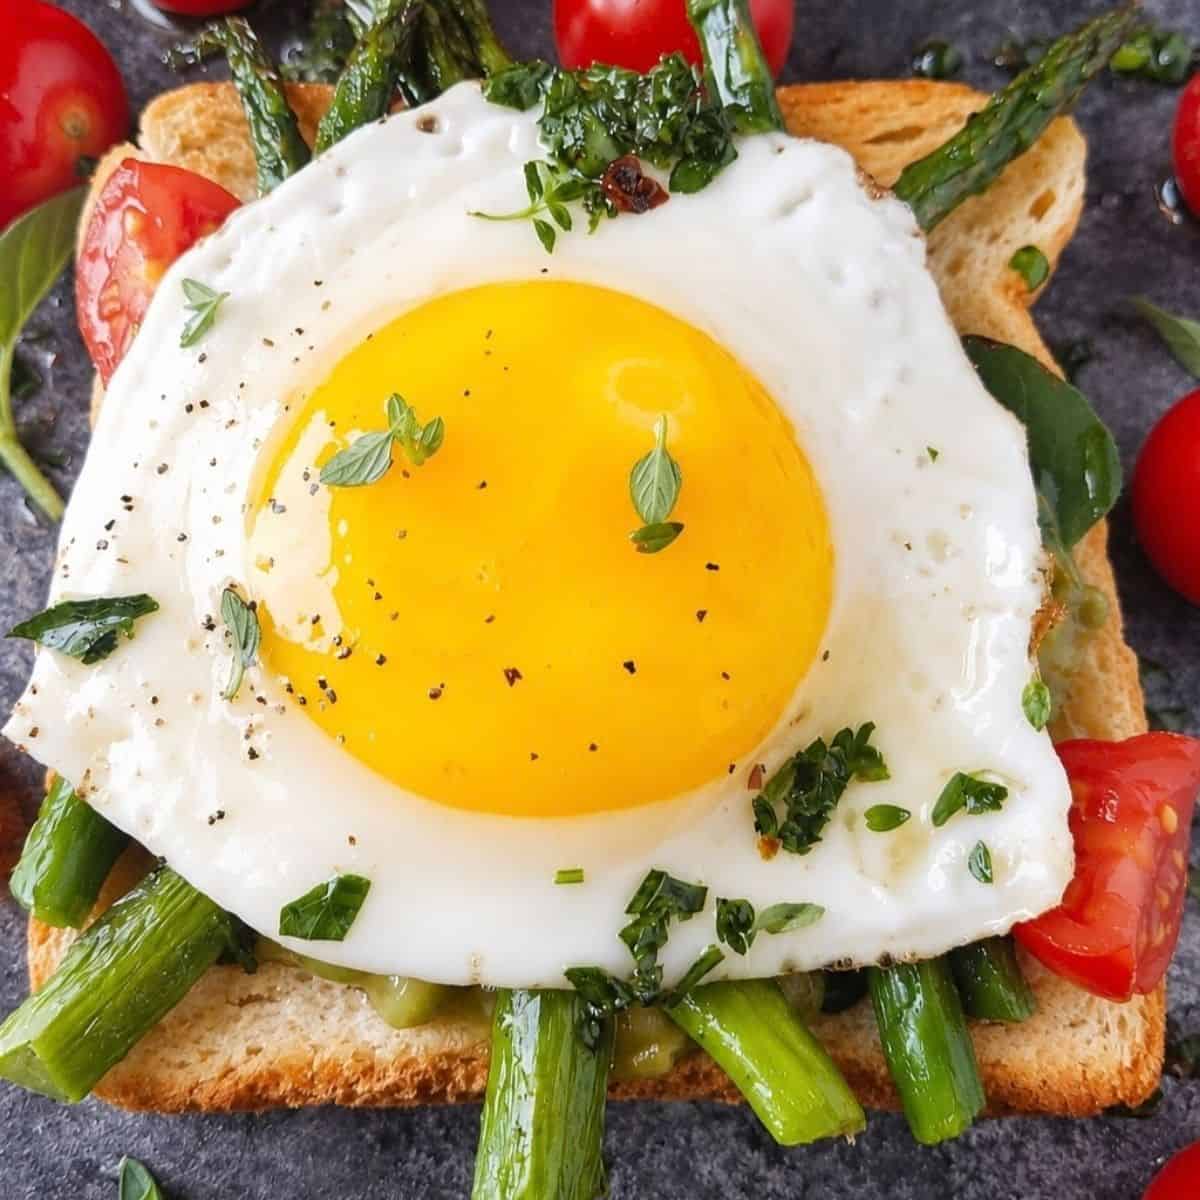
Sunny-Side Up Eggs
Equipment
- 1 skillet
- 1 Metal spatula
Ingredients
- 1 tablespoon olive oil, bacon fat, unsalted butter, or clarified butter
- 2 large eggs
- salt and ground black pepper – to taste
Instructions
- Heat the skillet: Heat a large nonstick skillet over medium-low heat. Choose one large enough to hold 2 to 3 eggs with space between them to prevent steaming.
- Check the temperature: Pour about ½ teaspoon of water into the skillet. Wait until the water sizzles and evaporates before cooking the eggs.
- Coat the skillet: Lightly coat the bottom with about 1 tablespoon olive oil, butter, bacon fat, or clarified butter. Melt the butter first if using it. Keep the coating light since a nonstick skillet doesn’t require much fat.
- Crack the eggs: Gently crack the eggs into the skillet without breaking the yolks. Leave space between them to prevent overcrowding.Note: Use an egg ring if desired to keep the eggs round and the yolks centered.
- Cook the eggs: Cook over medium-low heat for 2 to 2 ½ minutes. Wait until the whites change from clear to opaque and the tops set, with the yolks still runny. Lower the heat if the edges begin to brown too quickly.Note: Check the thicker white around the yolk. If it still looks clear or wet, cook the eggs a little longer.
- Lift the eggs: Remove the skillet from the heat. Slide a large, thin metal spatula under each egg and lift it from the skillet. Use the wide blade to support the soft yolk and avoid tearing the white.Note: Dab away excess oil gently with a paper towel if preferred to keep the eggs from feeling greasy.
- Season and serve: Season with salt and freshly ground black pepper. Sprinkle with fresh or dried herbs if desired, then serve immediately.
Recipe Video

Recipe Notes
Storage and Reheating
Store: Let leftover sunny-side up eggs cool, then refrigerate them in an airtight container for 2–3 days. They are best eaten fresh because refrigeration changes the texture of the whites and yolks. Reheat: Warm the eggs gently until heated through. Reheating will continue to cook the yolks, so they may become firmer and lose some of their runny texture.Nutrition
** Nutrition labels on easyanddelish.com are for educational purposes only. This info is provided as a courtesy and is only an estimate, since the nutrition content of recipes can vary based on ingredient brand or source, portion sizes, recipe changes/variations, and other factors. We suggest making your own calculations using your preferred calculator, based on which ingredients you use, or consulting with a registered dietitian to determine nutritional values more precisely.
Please note that health-focused and diet information provided on easyanddelish.com is for educational purposes and does not constitute medical advice, nor is it intended to diagnose, treat, cure, or prevent disease. Consult with your doctor or other qualified health professional prior to initiating any significant change in your diet or exercise regimen, or for any other issue necessitating medical advice.
Did you make this recipe?
Comment and rate the recipe. Also follow us on Pinterest at @easyanddelish for more delish recipes.This post was first published on January 4, 2014.

My sunny side up eggs came out perfect!
It was soooo good I will probably make this every day!
So happy you enjoyed our sunny side up eggs.
Thanks for the tips! I have eggs every day and have some success at sunny side up with medium heat butter and H2o
The key is to watch for the white to solidify then remove
Right away.
Have A Good Day
i tried the technique for these sunny side up eggs and worked perfectly. The yolks were soft and runny. so good.
Sent this recipe to my son, who's trying to learn how to cook 🙂 . No more overcooked eggs for him!
The easiest way to make sunny side up eggs. Mine came up perfect!!!!!
It's a method that works well. Thank you for sharing it with us. Keep it up.
I cannot help but notice that these pictures show the egg yok not intact! This is always the demise of your eggs. I am quite curious as to why you didn't do it again, with pictures following your advice
However, now that your pictures have broached the topic, I wonder if you have any tips for dealing with cracked yolks? I feel like the best policy is to simply trash them. (I generally go ahead and cook them the best they are, but they are certainly far from "sunny side up."
In any case, any advice? (Also, why did you use these pics?!
Travis, if you take a second look you will see the first picture shows the egg yolk intact. The second picture shows it runny because I pricked it to purposely get the runny effect. Have a good day!
Hi! I am an 11 year old, and u love eggs. But I don’t like making my own breakfast. These eggs are so good that they motivate me to make my breakfast! Thank you for the recipe!
Adele, my dear! You made my day. It is so good to hear that you are motivated to make your own breakfast in such an early age. Most of all, you enjoyed this method. I have an 11 year old daughter and just like you, she loves these eggs. Please, keep cooking. Wishing you a delicious week!
This was my first time making sunnyside up eggs and they turned out perfect after following your recipe! Thank you- I’m going to be making them on the regular now!
Amy: I am so glad you enjoyed this method. I have been using it for years and mine always turn out perfect too. Enjoy! Have a yummy day!
Sunny side up eggs are the first things my mind can think about for breakfast. It's simple and fast to make. Yummy~
- Natalie Ellis
These are great instructions Denise! Thanks for posting this, and I’m glad so many have complimented you. It’s beautiful! I’ve also heard/and learned that if you use SUPER fresh eggs, or eggs that are almost out of date, they will hold together better when you cook them, as opposed to eggs just purchased from the market-which tend to spread pretty wide and crisp at the edges. —One more tip that has been helpful to me is, you never want to crack an egg on the side of a bowl or pan. Always on a hard flat surface. You’ll almost always avoid breaking the yolks and avoid broken pieces of shell. Thank you once again, as this was very helpful. Happy cooking!
Joseph, thank you so much! I am glad this has been helpful to you. It has certainly for me. I get them right every single time following these simple instructions. Have a wonderful week!
I just bought an egg ring, and tried it out. My first egg had a hard yolk after 3 minutes - I covered the pan so the top would cook. Then I found your site on google. My second egg cooked for 2.5 minutes uncovered. Much more tasty! However, the whites were still clear and runny towards the center. What should I do next time? Was the heat too low? The water steamed, and I turned down the heat when the oil started to splatter. Thanks for a MUCH tastier egg!!
Hi Cila! Thank you for trying out my method. Is your stove top electric or gas? If electric, the burner that you used was dual or single? If gas, was the burner large or small? I ask bc the cooking time will vary according to these. I cooked mine on medium-low heat on a gas stove top over a large burner. I also did not use a ring which usually can make the cooking time longer bc the whites are not spread out. The size of the ring also matters. A larger ring make the whites cook faster than a smaller ring. I hope these help you to get your eggs perfectly cooked. Remember the whites cannot be clear otherwise they are not cooked. Yet the yolk has to be set but still runny. Please try to cook your eggs without the ring over medium-low heat (large burner if stove is gas) or over dual burner if electric. If cooking over single electric burner or a small gas burner, set temp to medium. Please try and see they will cook better and faster than using the ring. When you perfect the method, try again with the ring.
Remember with the ring eggs will need to cook longer so the whites can cook well. Use medium-low heat at first and lower the heat only if oil start to splatter.
Most un-useful info on sunny side up eggs. If You want to be helpful, please address the issue of getting the egg whites opaque without overcooking the yolk. Want the yolk not runny, but smooth, silky and thick like gravy. No offense. I just found your tips redundant.
It may be not useful for you but it is certainly useful for many others who continue to visit this specific post and found the tips helpful for them. There are recipes and how-to here for every cooking level. The time stated in the post to cook the eggs is for perfectly cooked sunny side-up eggs, that means, not overcooked, got it?
Whether the egg is sunny side up or boiled, I love adding eggs to the meal - over rice, over meat, over anything! So it's very crucial for me to make a good looking sunny side up to present the best egg on top of the other food. 🙂 Great tutorial post, Denise!!
Me too, Nami! Eggs have been a constant on my table since I was a child... Portugueses and their descendants make heavy use of eggs. 🙂
Thanks for sharing your tips, definitely it will be handy every morning 🙂
Thanks, Raymund! The good thing about these tips is that will permit a constant great result every single time.
Perfect explanation Denise. Boil and fry eggs may sound simple, but not always we have a greta result, like your fried eggs.
Thanks, Nydia! Before learning how to properly cook both hard-boiled and sunny-side up eggs, I could not accomplish to have great results. I am glad that these simple guidelines will benefit everyone.
I like my eggs to be firm not runny but my real problem is that it always starts to burn - the down side- while it is not completely done- the upper side- Do you have any suggestions? I've tried to lower the heat but still get the same result... It takes ages for that kind of eggs to get the yolk done the way I want :(. Yours look great though... very cool pictures as always.
Hi, Amira! Your eggs wind up burning because you cook them in high temperature. If you make them over medium-low heat, they won't burn. To get firm yolks, you follow the same guidelines above, but letting the eggs cook for a longer time turning them once if desired.
Thanks for the advice ... I'll try this next time 🙂
My pleasure!!!!
I like these tutorials - they can be really helpful, especially to learn new techniques. I love a good egg - but rarely make them sunny-side up. I should try it now!
Thanks, Amy!
That is one gorgeous looking egg Denise. Perfect.
Thanks for some great tips and I can't wait to make them for hubby who love sunny side eggs.
Thanks, my friend! I hope he enjoys them.
I'm trying your method for breakfast tomorrow Denise, they look perfect!
Thanks, Chris! You will see... It is easy and will produce good results.
Excellent tutorial, Denise! My hubby is the egg maker in the house, but I'll file this away in case I ever need to make him breakfast 🙂
Thanks, Liz! Wishing you a great week!
Nice Denise...your fried egg looks just perfect, thanks for the post.
Have a great week ahead 😀
Thanks, Juliana! Likewise.
Great post, Denise! I had to smile reading the comments, I do exactly as Maureen, except that I usually don't add butter, just olive oil, but the trick of the water works for me. I usually make only one egg, though - that makes the method more feasible, as you pointed out.
It is one of my favorite lunches, a fried egg - I grew up with my Mom making it for me, I was SUCH a picky eater... that 90% of my lunches were fried eggs with "paozinho frances quentinho da padaria" (lembra? 😉
Sally: I still remember those wonderful warm French rolls from Brazil. With eggs and/or cheese, they are even more delicious!
Hi Denise,
Thanks so much for this tutorial. The eggs look perfect! In love with the happy yellow!
It is my pleasure, Asmita! I have never thought that people was so interested in these techniques until I published one for how to hard boil eggs properly.
The egg is indeed a very important component of my cooking! My husband prefers scrambled eggs but I will try your method of sunny-side-up as an alternative! Who knows, he may change his mind!
Deb: The only ones that eat sunny-side up eggs at my home is my youngest and I. My husband only likes his eggs either scrambled or with well cooked, hard yolks (as well as my eldest daughter). Good luck! Thanks a lot for stopping by!
What a lovely and useful tutorial Denise! I learnt it through trial and error but at times, still don't get it right. I LOVE the vibrant photos.
Thanks, Sonali! Now you have easy steps to follow that you will help you to get your eggs right all the time.
I tend to cook eggs over-easy more than sunny-side up (mainly because I love flipping the eggs over in the pan!), but sunny-side up ones look better. Great method! I usually use 7-inch nonstick pans, the perfect size for two eggs. And then just slid them from the pan right onto the plate. Good post - thanks.
Thanks, John!
Beautiful! Perfect eggs, Denise! I have to admit though, I like my eggs with frazzled edges 🙂 Such lovely, sunny photos!
Thanks, Nazneen!!!! To get eggs with frizzle edges, heat the oil very well and let eggs cook on medium heat. 🙂
Making the perfect fried eggs, is a task that's difficult to accomplish, even for professional Chefs with years of experience, as many things can go wrong, resulting a 'failed' fried egg:)
So, your instructions are very very useful both for amateur and experienced cooks:)
Thank you Denise!
Thank you, LCT! Wishing you a wonderful year!
Great tips, Denise. I never knew to sprinkle water to test the hotness of the pan. I've always used a plastic spatula as well as I tend to make my sunny side up in a non-stick pan. However, it makes sense to use a thin metal one to avoid accidental tearing. Thanks for sharing the tips.
My pleasure, Lail!
I must try your method. I put a bit of oil and a bit of butter in the pan, melt til frothy and then put the eggs, season and add a teaspoon of water and cover.
This is also a great method too, Maureen! The only thing is with the covered method, eggs need to be watched carefully. Because I usually prepare several things at the same time, I avoid covering mine... I forget about them and the yolks wind up overcooked. 🙂
Oh what a beautiful and perfect egg, Denise! Honestly, I tend to have my pan too hot or just rush them in general. So I'm guilty of those crispy edges and dried yolks! Sometimes it's just good to have someone walk you back to the basics! And since my goal this year is not to skip breakfast...this is a great place for me to start! Wishing all the best in the New Year! : )
Thanks a lot, my dear Anne! It is so good to have you visiting me here again... Wishing you a wonderful new year! xx
Love these simple, easy-to-understand directions Denise! Nothing as comforting as a perfect sunny side up egg and a crispy slice of toast. My Grandma Lamp used to make me and my younger brother "up eggs" with toast every morning on our summer break visits. Love those memories!
I am so happy to have you visiting me here, Laura! I am glad that you enjoyed these easy-to-follow directions...What great memories of your Grandma you have! xx